

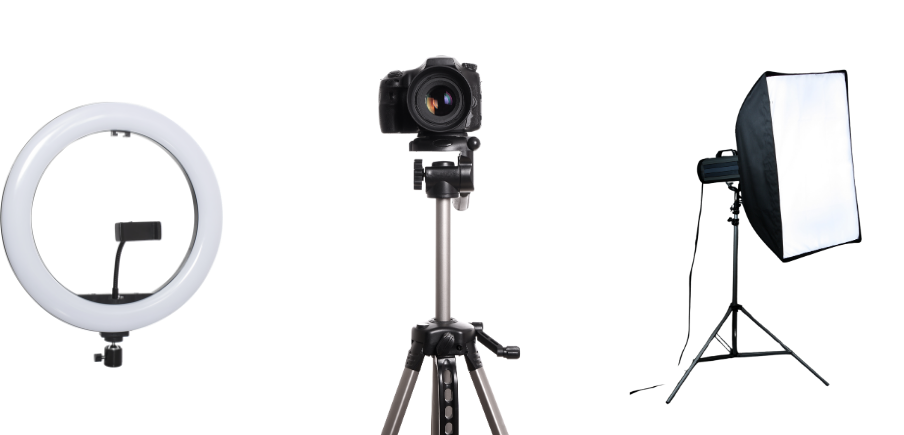
Using High-Quality Equipment
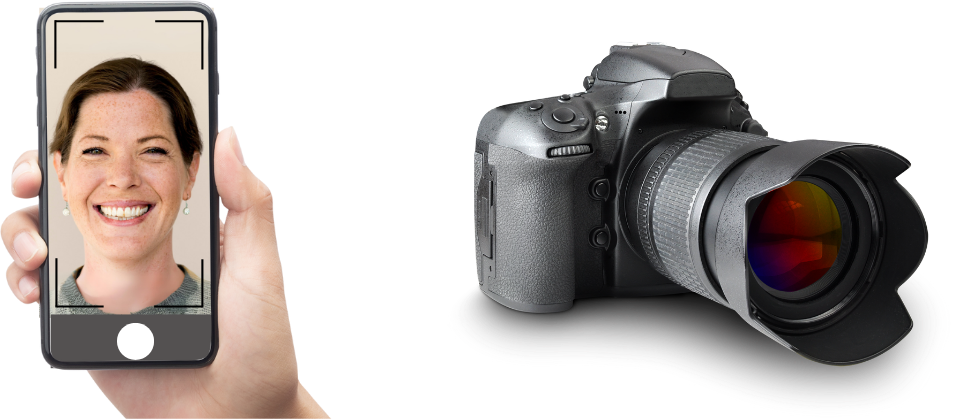
For capturing smile design photos, high-quality equipment is essential. While professional cameras and lenses are typically preferred, it’s important to note that high-resolution mobile phones can also be used effectively. Modern smartphones come equipped with advanced camera technology that can produce clear and detailed images. When using a mobile phone, ensure that it has a high megapixel count and good low-light performance to achieve the best results. If you’re using a dedicated camera, opt for a high-resolution digital camera and suitable lenses to ensure sharp, detailed photos. Additionally, employing a tripod can help maintain stability and avoid blurry images.
Standard Poses and Angles
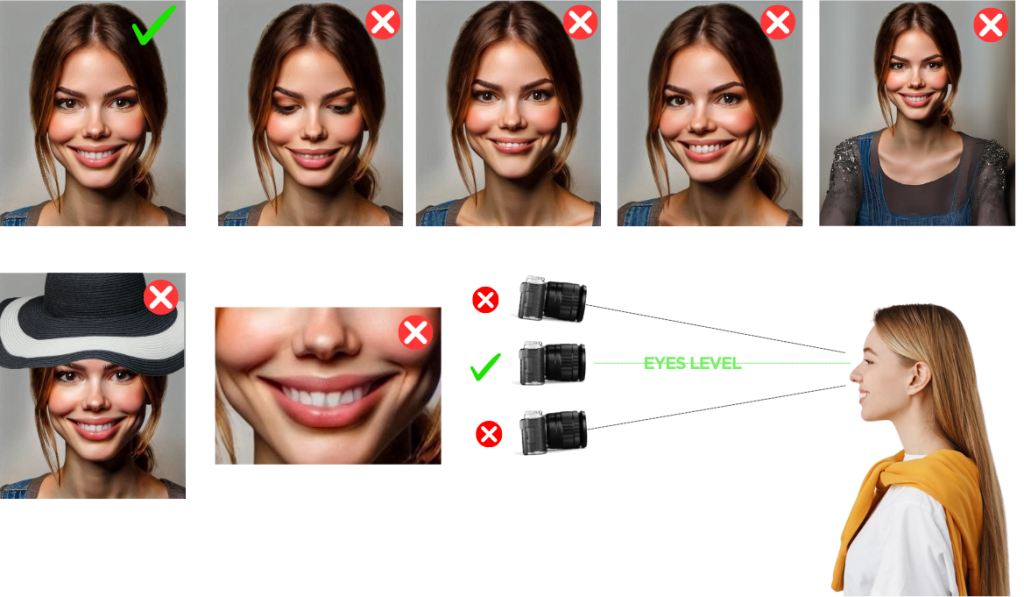
For accurate smile design, capturing photos from standard poses and angles is essential. Follow these guidelines to ensure that your photos provide the necessary details for effective treatment planning:
Eye-Level Shots: Ensure the photo is taken at the patient’s eye level. This perspective provides a clear view of the teeth and smile line. The patient’s head should be held upright, and the smile line created by the teeth should be clearly visible. Aim for the patient’s most natural and relaxed smile.
Avoiding Angles Above or Below Eye Level: Avoid taking photos from above or below eye level, as these angles can distort the appearance of the teeth and smile line. Ensure the patient’s head is straight and not tilted to avoid skewed perspectives.
No Hats or Accessories: Ensure that no hats or other accessories cover the patient’s face. These items can obscure important facial features and impact the accuracy of the smile design.
Head and Facial Focus: The focus should be on the head and facial area, with minimal to no inclusion of the torso. The photos should capture the full face to ensure that the smile and teeth are properly analyzed. Avoid partial shots that only include the mouth area, as a complete view is necessary for comprehensive analysis, especially for AI-based systems.
Proper Lighting Techniques and Tripods
Lighting is crucial for ensuring that teeth and facial features are clearly visible. Use soft, diffused artificial light to minimize harsh shadows and achieve even illumination. Natural light can be beneficial, but shooting during times when the sun is not directly shining helps to avoid strong, unflattering shadows. In indoor settings, opt for consistent light sources to provide a uniform light distribution. Additionally, using a tripod is essential for maintaining stability and avoiding camera shake. A tripod ensures that your photos are steady and sharp, especially in low-light conditions or when using longer exposure times. This combination of proper lighting and stable camera positioning will help you capture clear and high-quality images.
Clarity of Lips and Teeth
For effective smile design, ensuring the clarity of both lips and teeth in the photos is crucial. Here are some key considerations to achieve this:
Open Lips for Full Visibility: Ensure that the patient’s lips are slightly parted to fully expose the teeth. The lips should not obscure any part of the teeth, as it is essential to capture the entire dental arch. Encourage the patient to smile naturally while keeping the lips open just enough to reveal the teeth clearly.
Avoid Lip Closure: Ensure that the lips do not cover the teeth during the photo session. Any part of the teeth hidden by the lips can hinder the accurate assessment of the smile and dental features. A gentle and natural smile is ideal for showing the teeth without forcing the lips into an unnatural position.
Focus on Teeth Detail: The photo should capture the teeth in sharp detail, including the alignment, color, and shape. High-resolution images are necessary to evaluate these aspects accurately. Ensure that the camera is focused precisely on the teeth and that the entire dentition is visible.
Natural Expression: Aim to capture the patient’s most natural expression to ensure the photo reflects their typical smile. This helps in designing a smile that complements their facial features and personality. Guide the patient to avoid overly exaggerated or forced smiles, which can distort the appearance of the teeth and lips.
Avoid Shadows and Reflections: Make sure there are no shadows or reflections obscuring the teeth. Proper lighting and camera positioning will help minimize these issues, ensuring that the photo accurately represents the dental features.
Complete Facial View: For comprehensive analysis, the photo should include the entire face. This helps in evaluating how the smile fits within the overall facial structure. Partial photos focusing only on the mouth can be limiting and do not provide a complete picture for analysis.